Namespaces
Now that you have a working cluster connected to your Kubernetic client you can continue with handling the namespaces.
TIP
Namespaces is a way to virtually split an existing cluster to separate environments. Most objects inside Kubernetes act inside a specific namespace, which means when you switch namespace a fresh environment will be provided.
Go to screen Settings > Namespaces
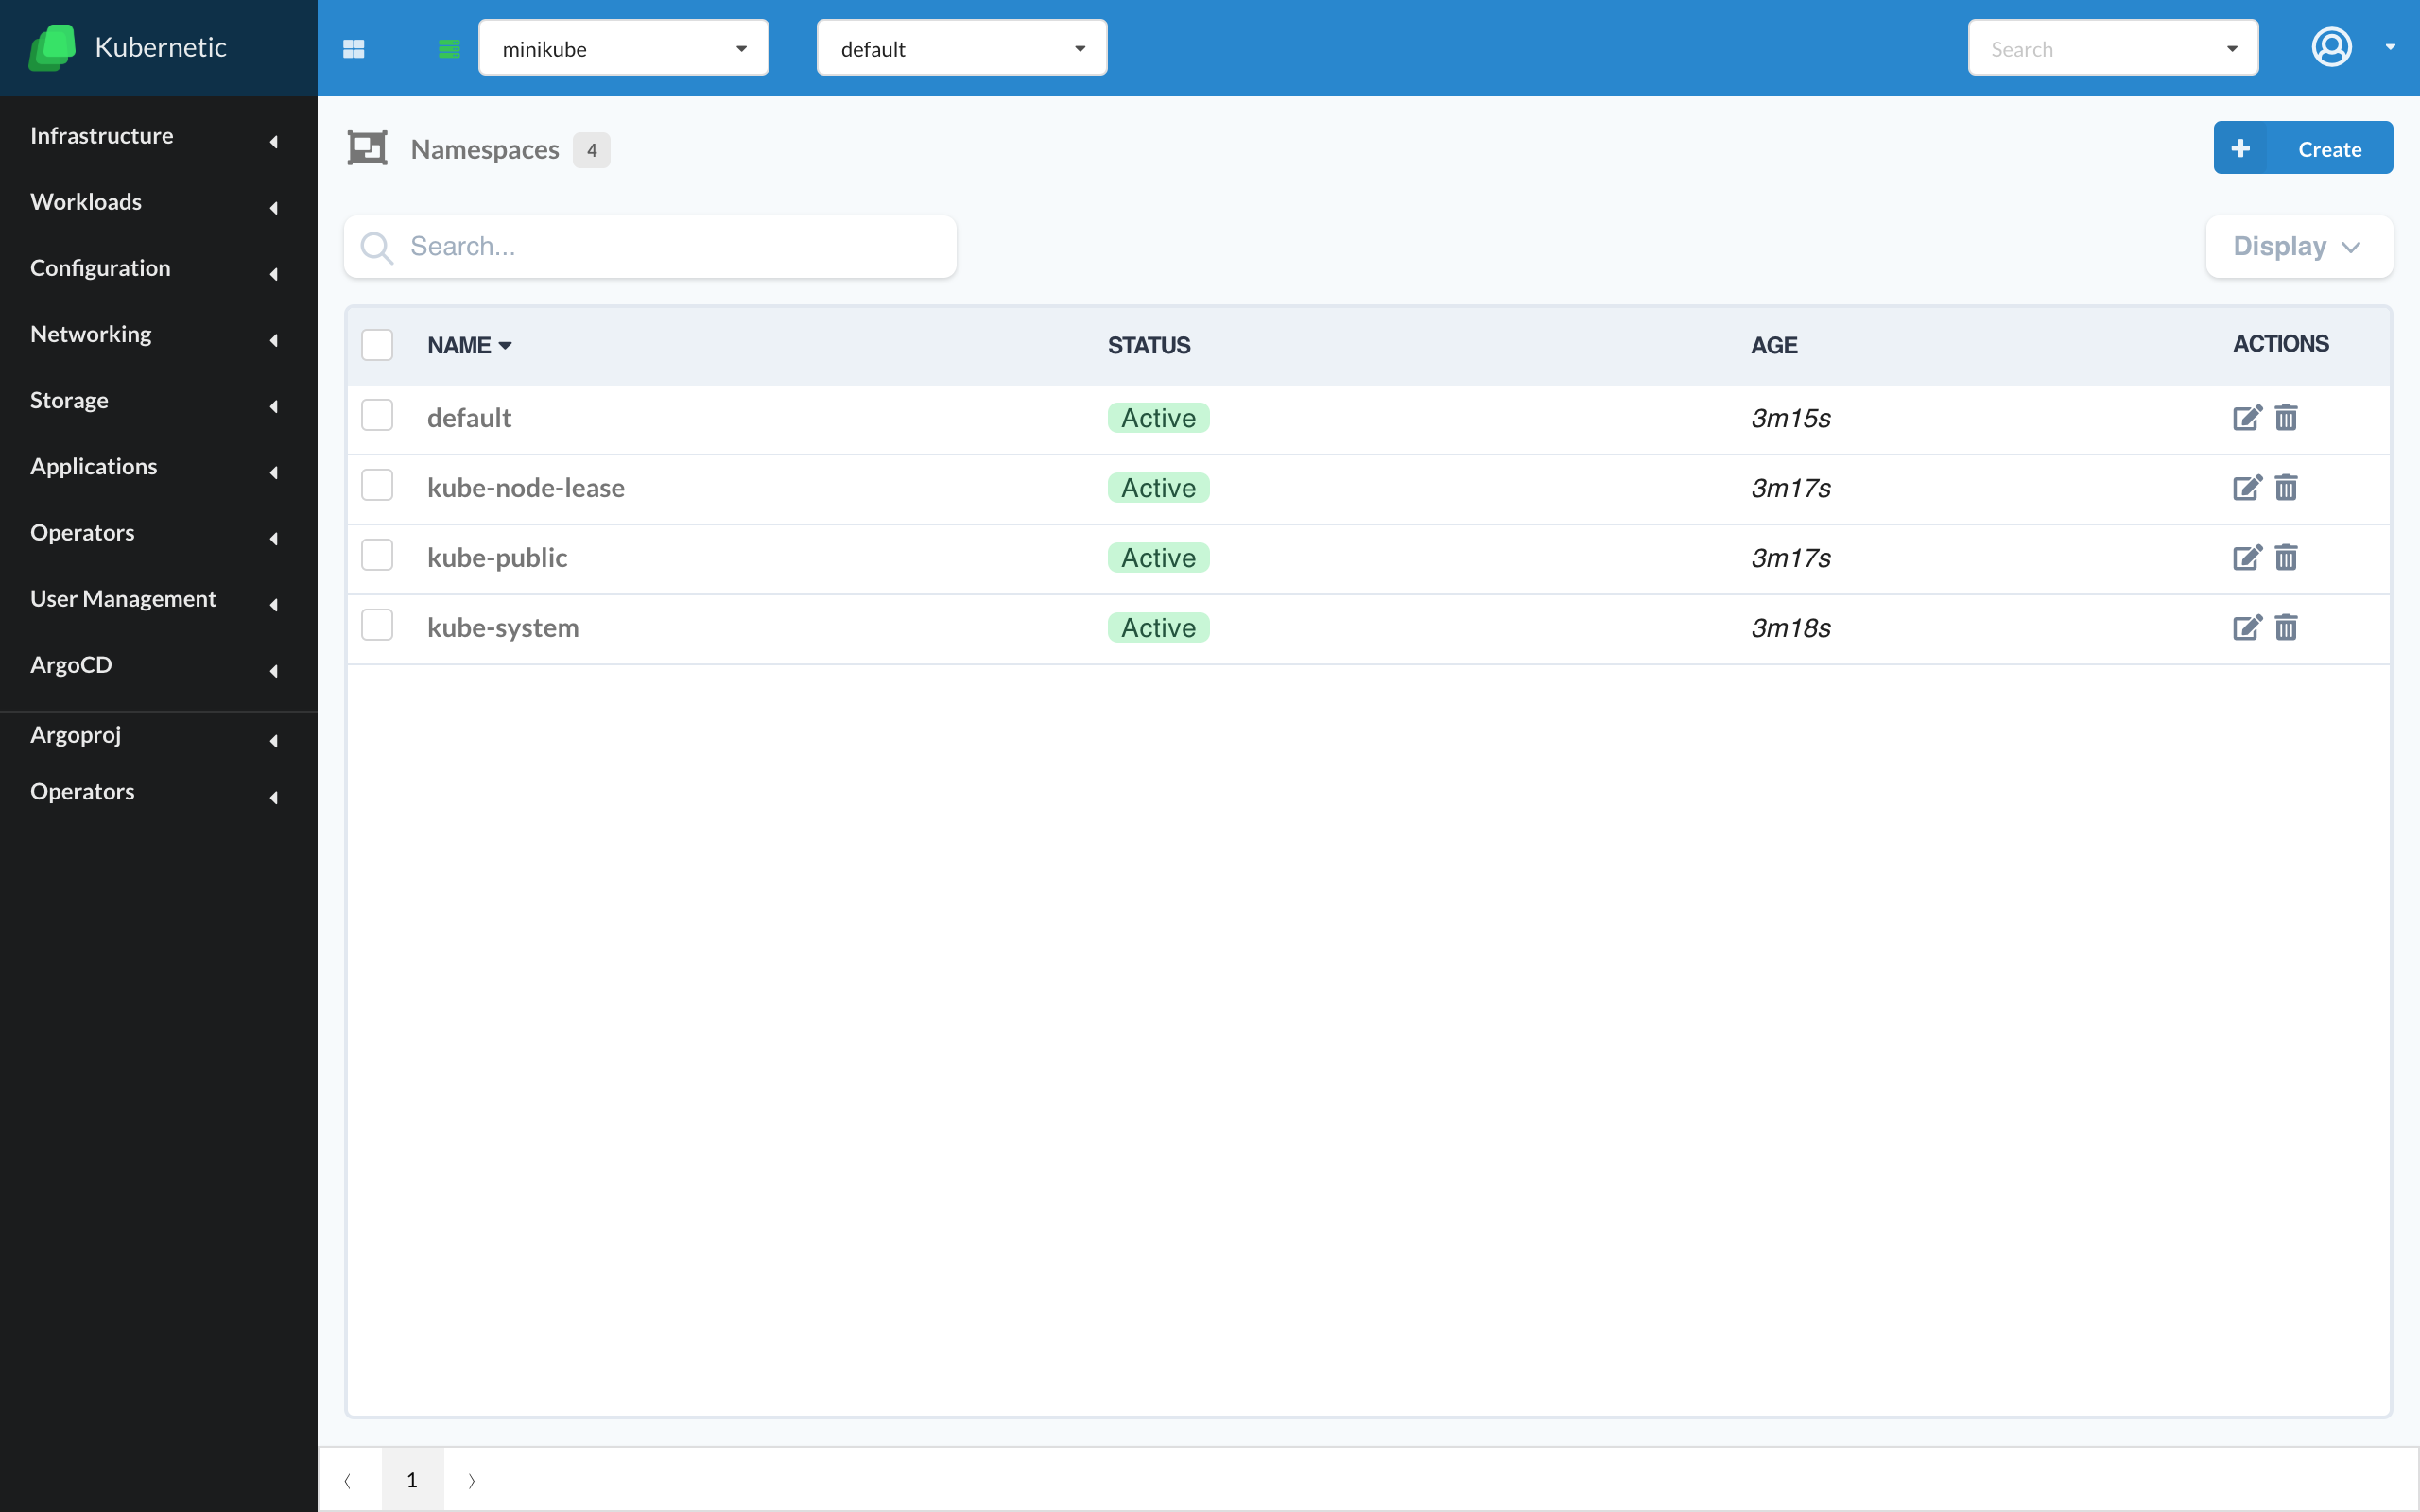
List Namespaces
You will see there your existing namespaces. Kubernetes creates an active "default" namespace automatically which is where your objects act on by default. It also creates a "kube-system" namespace where all cluster's management objects are stored (e.g. A DNS service).
Creating Namespace
Let's create a namespace:
- Fill name: kubernetic-tutorial
- Click Create button

Switching Namespace
The active namespace can be seen on the top menu bar, you can switch to the new namespace by selecting the name. The current view will be refreshed to display the resources of the selected namespace.
You can also choose to display All namespaces. Table will be updated with a Namespace column to display the namespace of each resource.

Deleting Namespace
DANGER
Deletion of a namespace propagates the deletion of all resources under that namespace.
Namespaces can be deleted from the menu:

A confirmation dialog is shown before deleting the namespace:
